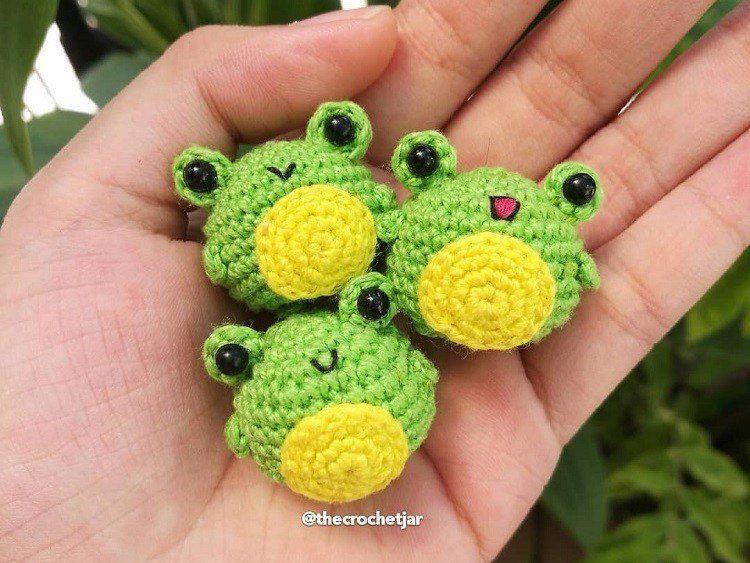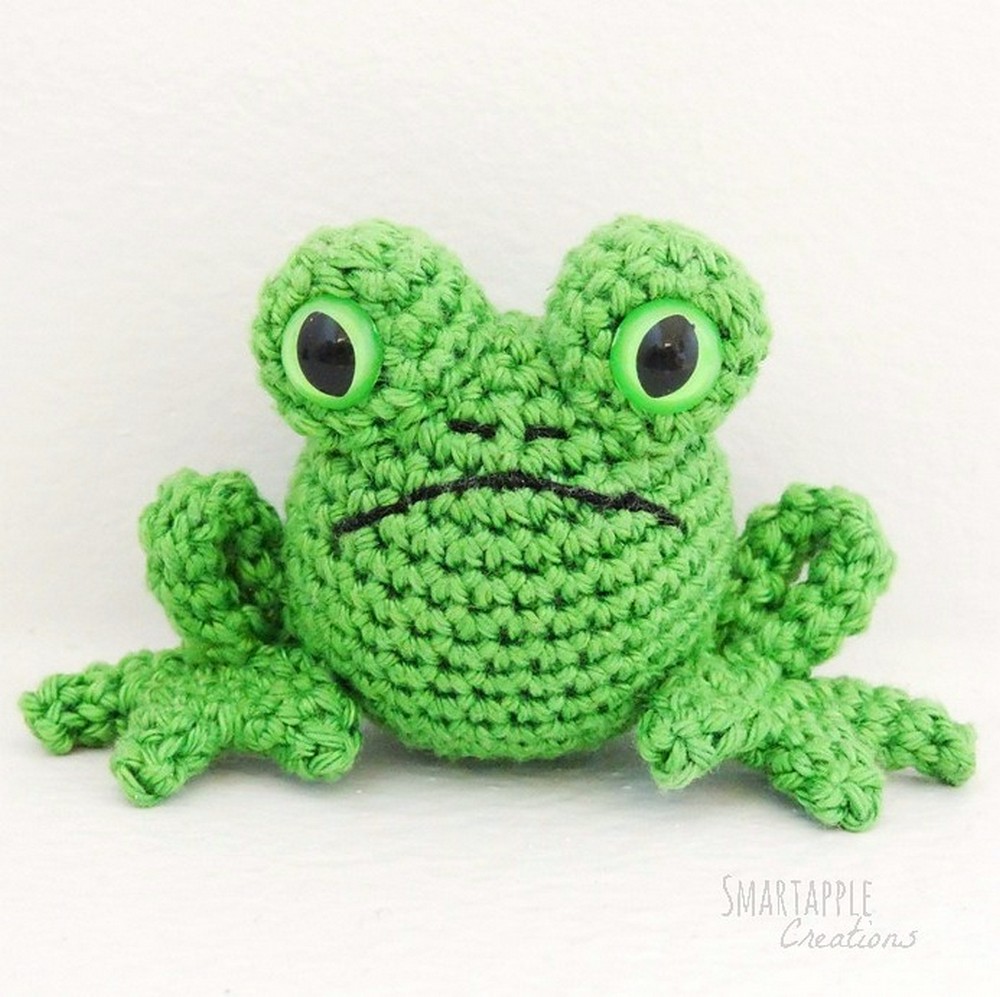
If you love crochet and amigurumi, then you'll be thrilled to discover this adorable and free frog crochet pattern. Creating amigurumi toys is not only a fun and relaxing hobby but also allows you to add a personal touch to your home decor or make unique gifts for your loved ones. This frog crochet pattern is perfect for beginners and experienced crocheters alike, so grab your crochet hook and let's get started on this charming project!
Gathering the Supplies

Before diving into the frog crochet pattern, make sure you have all the necessary supplies. You'll need:
- Green yarn (preferably worsted weight)
- A crochet hook (size G/4mm is recommended)
- Fiberfill stuffing
- A pair of safety eyes
- A yarn needle
- Scissors
Once you have everything prepared, you're ready to start crocheting the adorable frog amigurumi!
Creating the Frog Body

Begin by making a magic ring with your green yarn. If you're not familiar with this technique, you can find plenty of tutorials online to guide you through it. Once you have your magic ring, crochet six single crochet stitches into it. This will form the base of the frog's body.
Next, continue working in a spiral and crochet two single crochet stitches into each stitch around. This will increase the number of stitches to twelve. Repeat this process for the next round, increasing to twenty-four stitches.
Continue to crochet in a spiral without increasing for several rounds until the body measures approximately three inches in height. Adjust the number of rounds based on your desired size for the frog amigurumi.
Shaping the Frog Legs

To create the frog's legs, you'll need to crochet two separate pieces. Each leg starts with a magic ring and six single crochet stitches, just like the body. However, instead of increasing, you'll continue working in a spiral without any increases.
Crochet approximately ten rounds or until the leg measures around two inches in length. Repeat this process to create the second leg.
Once both legs are completed, stuff them lightly with fiberfill and sew them onto the bottom of the frog's body. Make sure to position them symmetrically to achieve a balanced look.
Forming the Frog Head

Now it's time to crochet the frog's head. Start with a magic ring and six single crochet stitches, just like the body and legs. Increase the number of stitches to twelve in the next round by crocheting two single crochet stitches into each stitch.
Continue to crochet in a spiral without increasing until the head measures approximately two inches in height. Stuff the head lightly with fiberfill and position it on top of the frog's body. Securely attach it by sewing around the opening and attaching it to the body.
Adding the Final Touches

To give your frog amigurumi a charming and lively appearance, attach a pair of safety eyes to the head. You can find safety eyes at your local craft store or order them online. Alternatively, you can use black yarn to embroider the eyes if safety eyes are not available.
Finally, use a yarn needle to embroider a smile or any other facial details you desire. Get creative and add personal touches to make your frog unique and special.
Conclusion
Congratulations! You've successfully completed the free frog crochet pattern and created an adorable amigurumi toy. Crocheting amigurumi is a rewarding and enjoyable craft that allows you to bring your favorite animals and characters to life. Whether you're a beginner or an experienced crocheter, this frog crochet pattern is a great project to practice your skills and create a cute companion or gift.